Safe Bee Removal for Homeowners: Step-by-Step Guide
January 12, 2026 · 4 min read

Most people who call a bee removal company have never seen a professional job done. The process sounds mysterious, and when you are anxious about bees in your wall, that does not help. Here is exactly what a Beecasso job looks like from first call to sealed-up structure.
Step 1: The assessment call and site evaluation
The job starts with a phone conversation. You describe where you have seen activity, how long it has been, whether bees are going into a structure or hanging in an open cluster. This determines roughly what equipment to bring and what to expect.
On site, the first task is finding the exact location and extent of the hive. Bees entering through a siding gap do not necessarily mean the hive is right behind that gap: they may be traveling several feet through a wall cavity to an established pocket. The entry point is found first by following traffic patterns, then confirmed by sound (stethoscope against the wall), and sometimes by thermal imaging if the hive is large enough to generate detectable heat.
This assessment step matters. Opening the wrong section of wall wastes time, exposes more surface area than necessary, and risks disturbing the hive without accessing it.
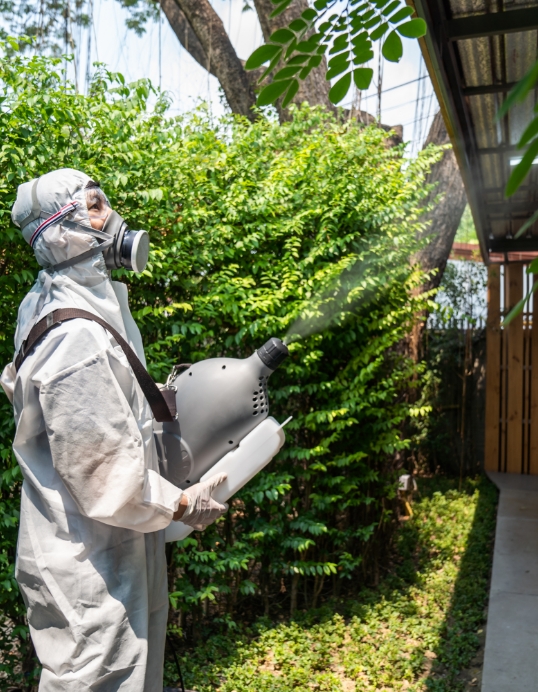
Step 2: Protecting the area and suiting up
Before any access is made to the hive, the surrounding area is cleared: any people or pets moved inside, any furniture or items away from the work zone. Protective gear goes on: full suit, gloves, and a veil. On a wall job with an established and defensive colony, full protection is standard regardless of how calm the bees seemed on arrival. The colony's behavior changes when the wall opens.
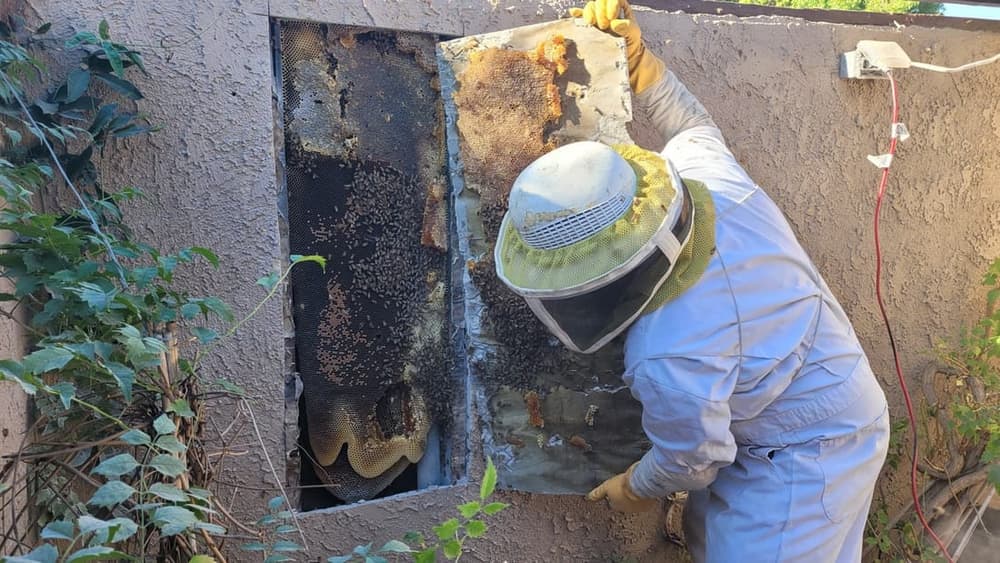
Step 3: Accessing the hive
For an exposed swarm or open-air hive, this step is simply positioning to access the cluster directly. For a structural job, the more common scenario in Los Angeles, where bees often occupy wall cavities in stucco homes, older wood-framed structures, and soffits, access means cutting or prying into the structure. A skilled remover cuts a small, targeted opening rather than removing a large section unnecessarily. The goal is to expose the hive, not to tear out the wall.
In some cases, a hive behind a finished wall inside a living room versus one in an exterior soffit, the access path is chosen based on where restoration will be easier, not just where the hive is closest.
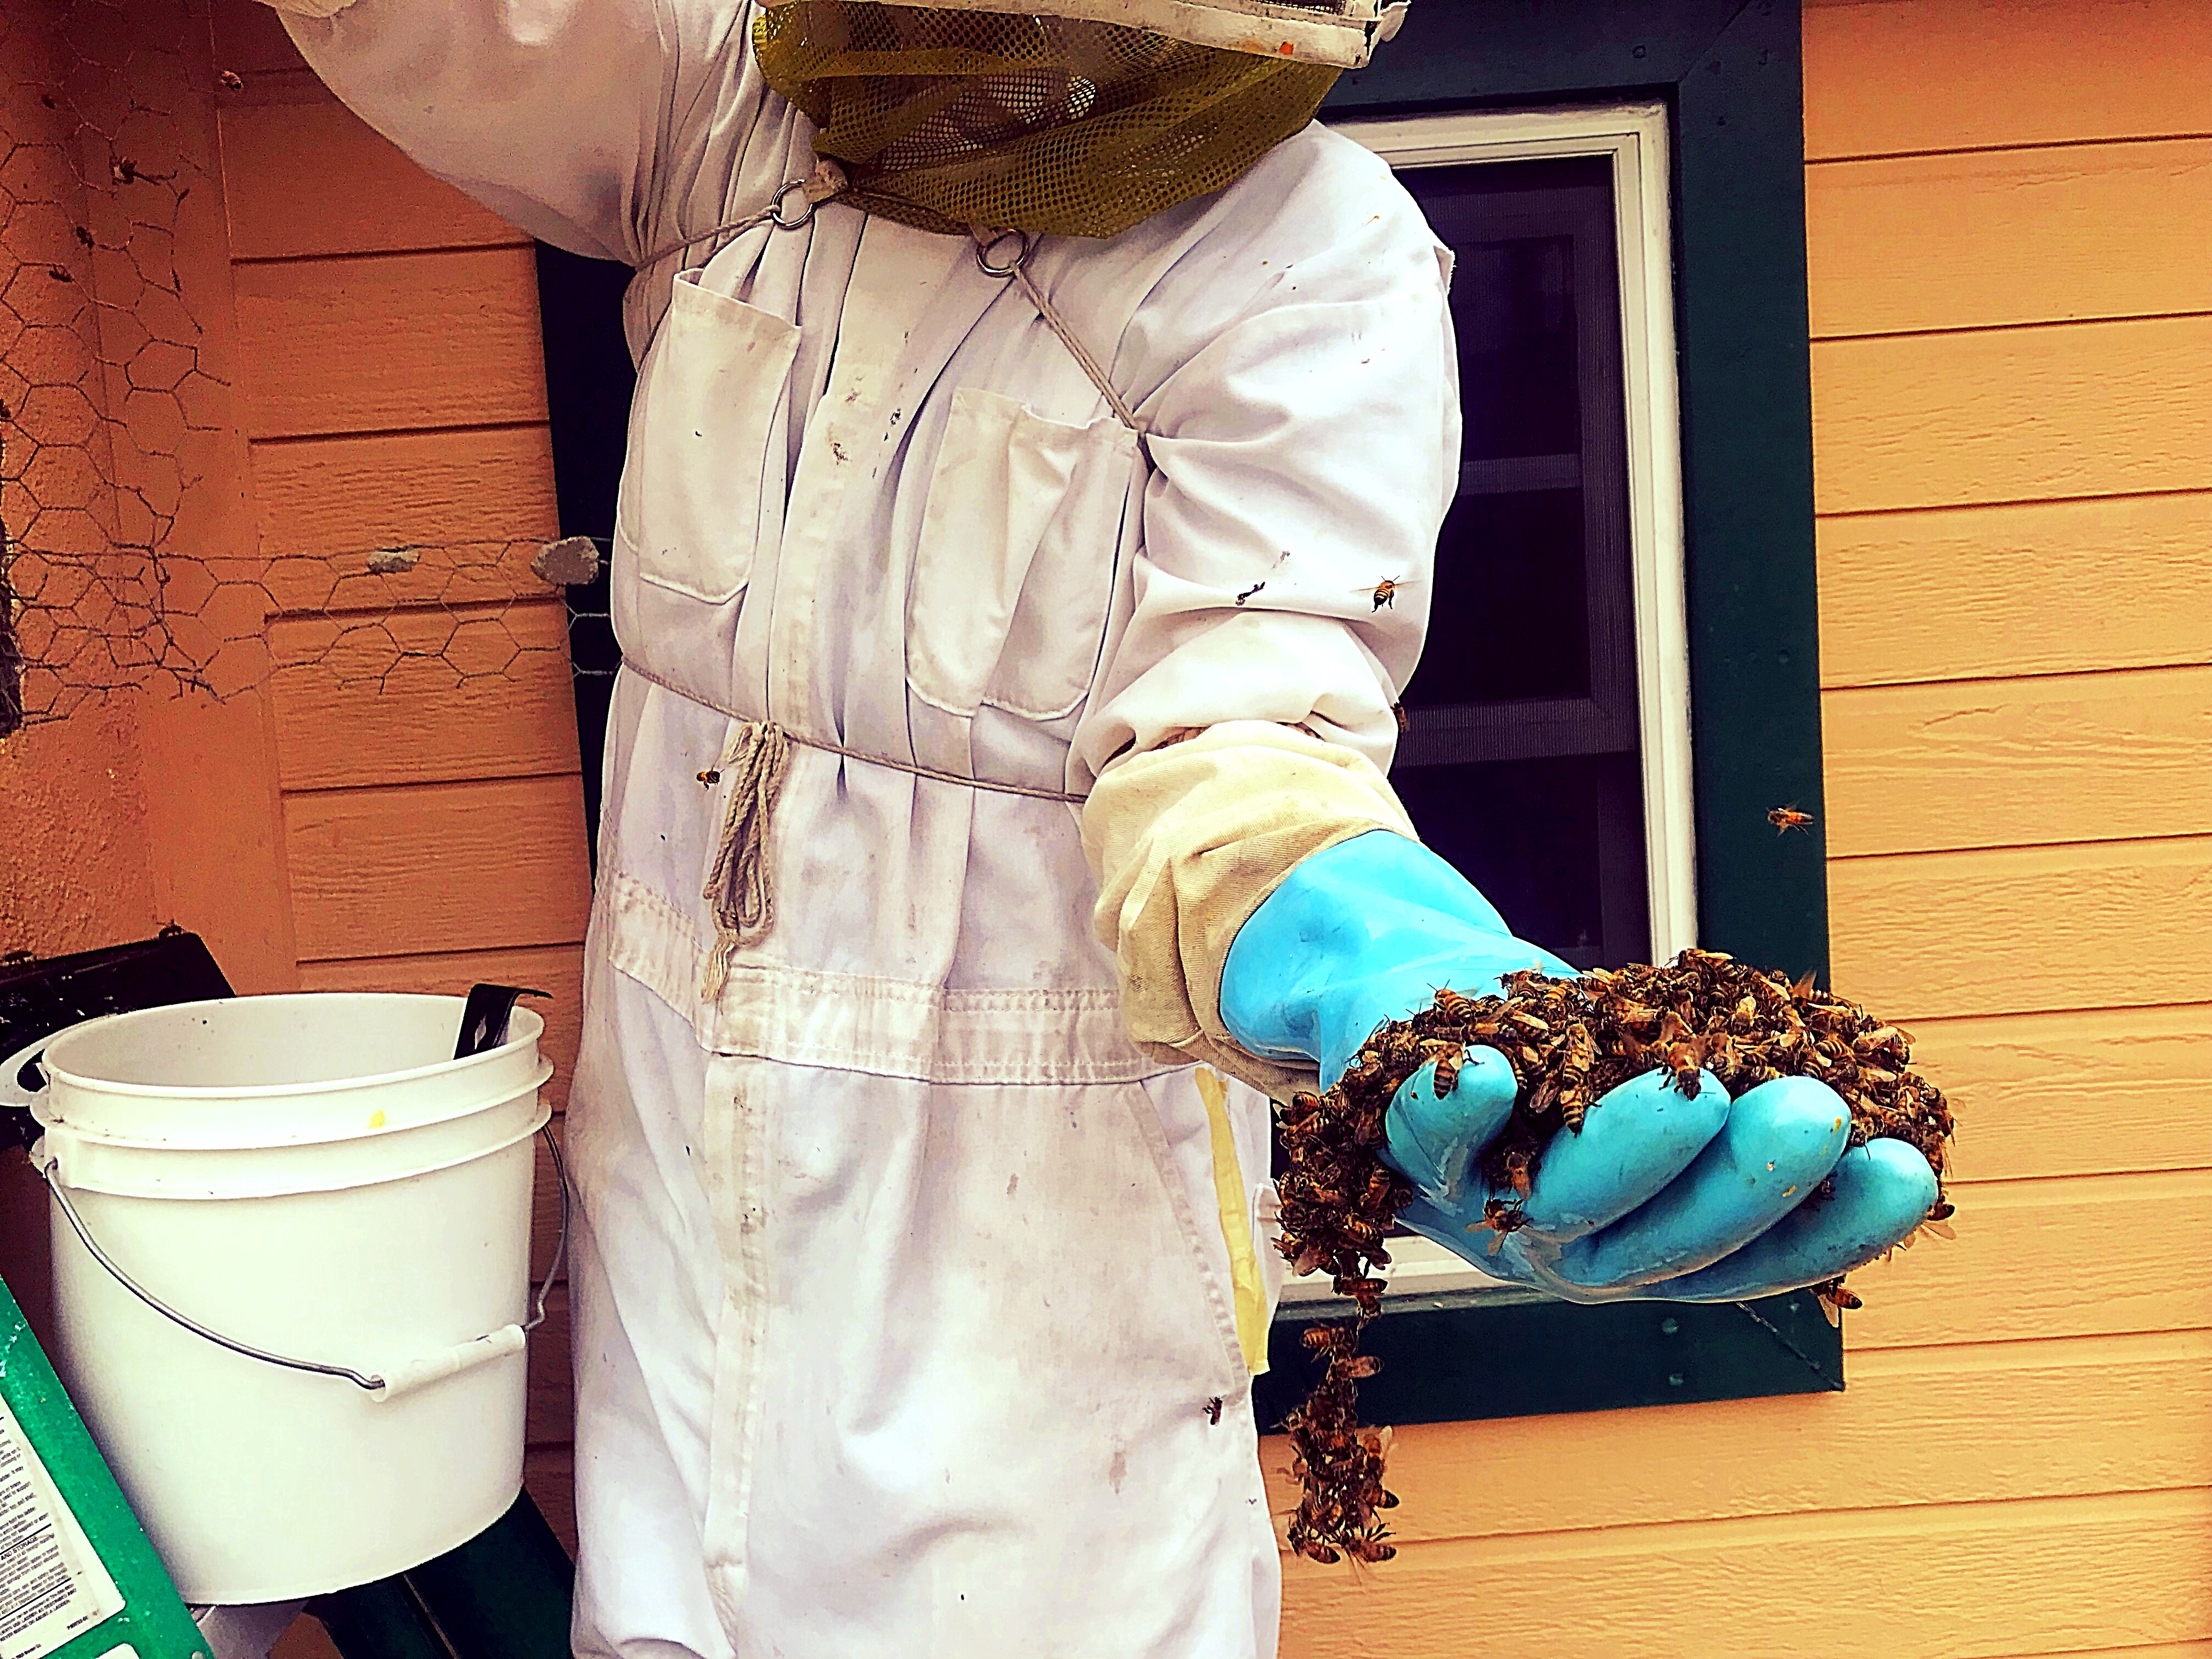
Step 4: Extracting the bees
A specialized bee vacuum operates at low suction, enough to capture and move bees without injuring them. The vacuum is used to pull bees off the comb surface systematically, working inward toward the main cluster. The goal is to capture the queen, because without the queen the remaining colony will not reconstitute. Finding the queen on a large comb frame takes experience: she is larger than workers but can be surrounded by attendants and difficult to spot under activity.
This step can take 30 minutes on a small job or several hours on a large established hive. The bees collected go into a containment vessel that will become their relocation box.
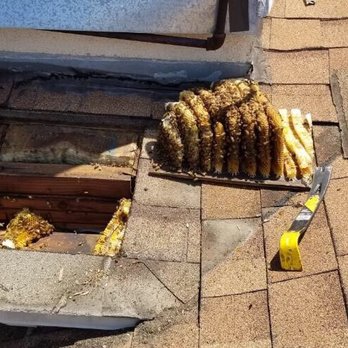
Step 5: Removing the comb
Every frame of comb comes out. This is not optional and it is not quick on an established hive. Honeycomb can fill significant wall cavity volume: a colony that has been in place for two or three California summers may have built considerable comb. It comes out by hand, frame by frame, scraping down the attachment points. After comb removal, the interior of the cavity is cleaned and, in some cases, treated to help neutralize residual odor.
A complete bee removal is not just removing bees. It means locating the colony, safely collecting the bees, removing the comb, cleaning the cavity, sealing the entry points, and relocating the viable colony whenever possible. Comb left behind liquefies in Southern California summer heat, damages the wall structure, and its pheromone signature attracts new swarms to the same spot year after year.
Step 6: Sealing entry points
Every gap, seam, and opening used by the colony gets sealed. This is often where a job that looks done is not. A hive may have a primary entry and two or three secondary openings: bees probe for weak points, and all of them need to be closed. Sealing material varies by surface and may include steel wool and caulk for small gaps, matching stucco patch for exterior surfaces, or copper mesh for weep holes (which lets drainage continue without giving bees a way back in).
The restoration of the access opening (sealing the cavity, reinstalling siding, repairing the soffit panel) is completed by Beecasso as part of the removal, insured.
Step 7: Relocation
The captured colony goes to a bee removal partner: whenever possible, colonies are relocated to local beekeepers and apiary partners. Southern California has a healthy network of beekeepers who work with removal services on exactly this. The alternative to live removal is extermination, and Beecasso's standard is to relocate when it is viable. A swarm in good condition is useful to beekeeping; even a large wall colony, if handled without excessive pesticide exposure, can establish in a new hive box within days.
What this looks like in time
A simple accessible swarm with no comb: 1 to 2 hours.
An established hive in an accessible exterior location (open tree hollow, exposed eave): 2 to 4 hours.
A structural wall job with significant comb: 4 to 8 hours, sometimes a second visit for sealing and touch-up.
If you are ready to schedule or want an assessment before committing to a job, call Beecasso. Serving Los Angeles County and Orange County. Free assessments.
Provided by Beecasso. Last updated June 2026.